Weatherproof Your Garage with New Side and Top Seals
Your Garage Is Leaking — Side and Top Seals Are the Fix
Installing garage door weather stripping side and top is one of the fastest, most rewarding DIY upgrades a homeowner can make — and it takes less than an hour.
Here's the quick version of how it's done:
- Remove any old, worn weather stripping from the door frame
- Measure the top and both side sections of the frame
- Cut new weather stripping to length
- Install the top seal first, then attach the side seals so they overlap the top piece at the corners
- Position the flexible flap so it lightly contacts the door without pressing too hard
- Secure with nails or screws every 6–12 inches
- Test by closing the door and checking for light, drafts, or gaps
If your garage feels drafty, noisy, or like it's full of spiders — your side and top seals are probably the problem.
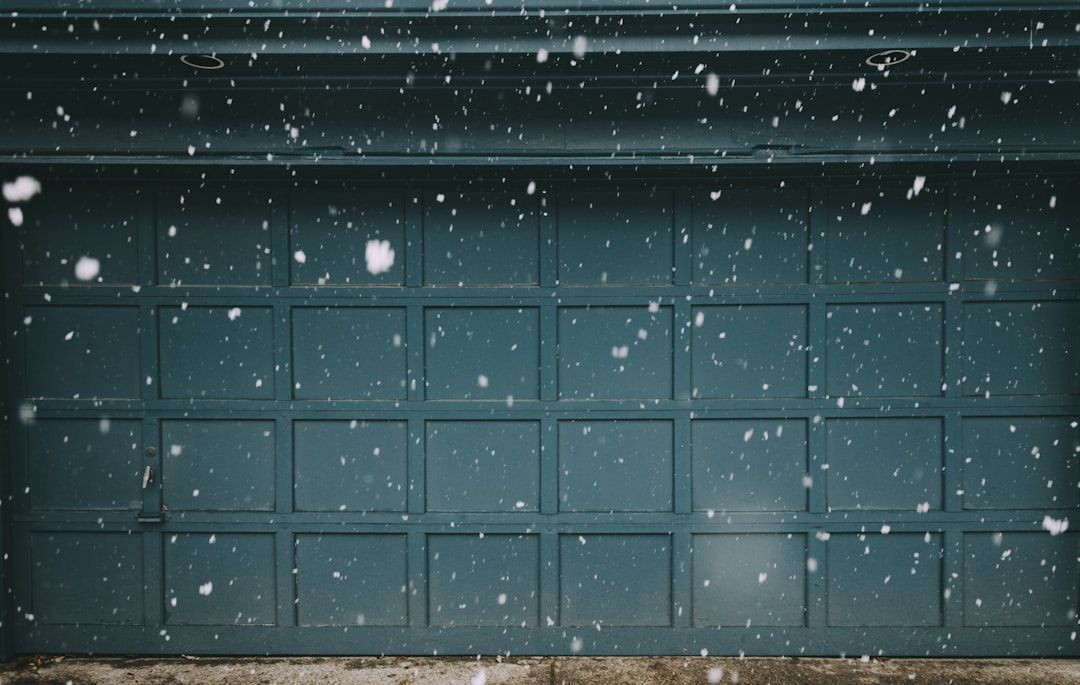
Garage doors without proper weather stripping can have gaps as large as your hand along the frame. Across two standard doors, that adds up to roughly 68 linear feet of open gaps — the equivalent of every window in your house cracked open an inch.
The result? Cold air floods in, heat escapes, bugs find their way through, and your energy bills quietly climb.
The good news: this is a cheap, fixable problem. New side and top seals can raise your garage's interior temperature by 20°F or more, reduce noise, and keep pests out — all for under $20 in materials.
This guide walks you through everything: choosing the right materials, measuring correctly, installing in the right order, and avoiding the mistakes that cause rubbing, binding, or opener issues.
 Remove old stripping, 2) Measure frame top and sides, 3) Cut stripping to length, 4) Install top seal first, 5) Attach side seals with corner overlap, 6) Position flexible flap to lightly touch door, 7) Secure with nails and test for gaps; a side panel shows before/after temperature comparison (45°F outside: 55°F inside before vs. 65°F inside after) and notes that 68 linear feet of gaps equals a window cracked open one inch - installing garage door weather stripping side and top infographic infographic-line-5-steps-blues-accent_colors")
Why Side and Top Weather Stripping is Essential
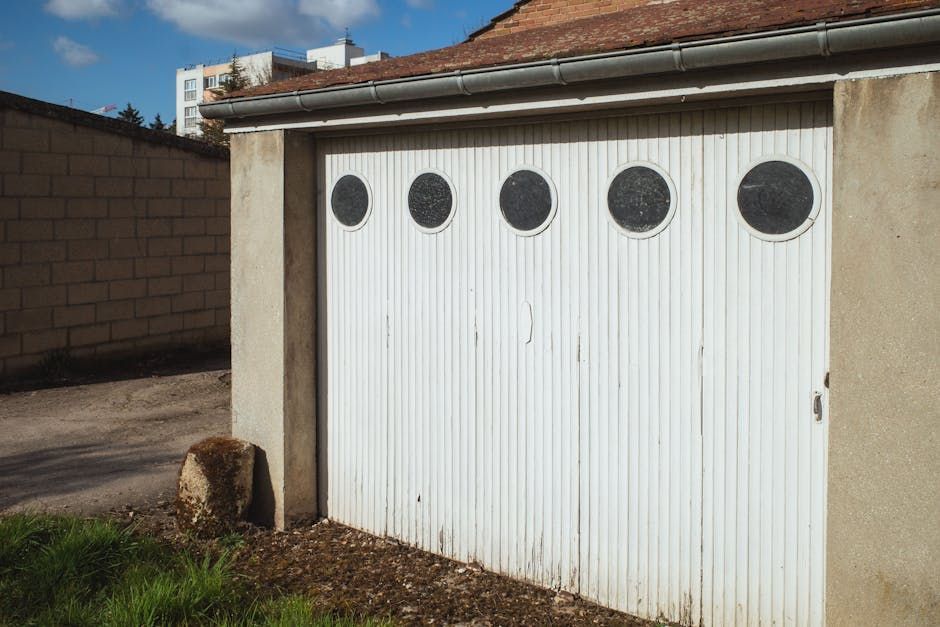
When we talk about weather stripping, many homeowners immediately think of the thick rubber gasket at the bottom of the door. While that bottom seal is vital, the sides and top of the door frame are often the most overlooked areas for air leakage. These seals, often called "stop molding," act as the primary barrier between your climate-controlled garage and the unpredictable Virginia weather.
The benefits of installing garage door weather stripping side and top go far beyond just stopping a breeze. A properly sealed door provides:
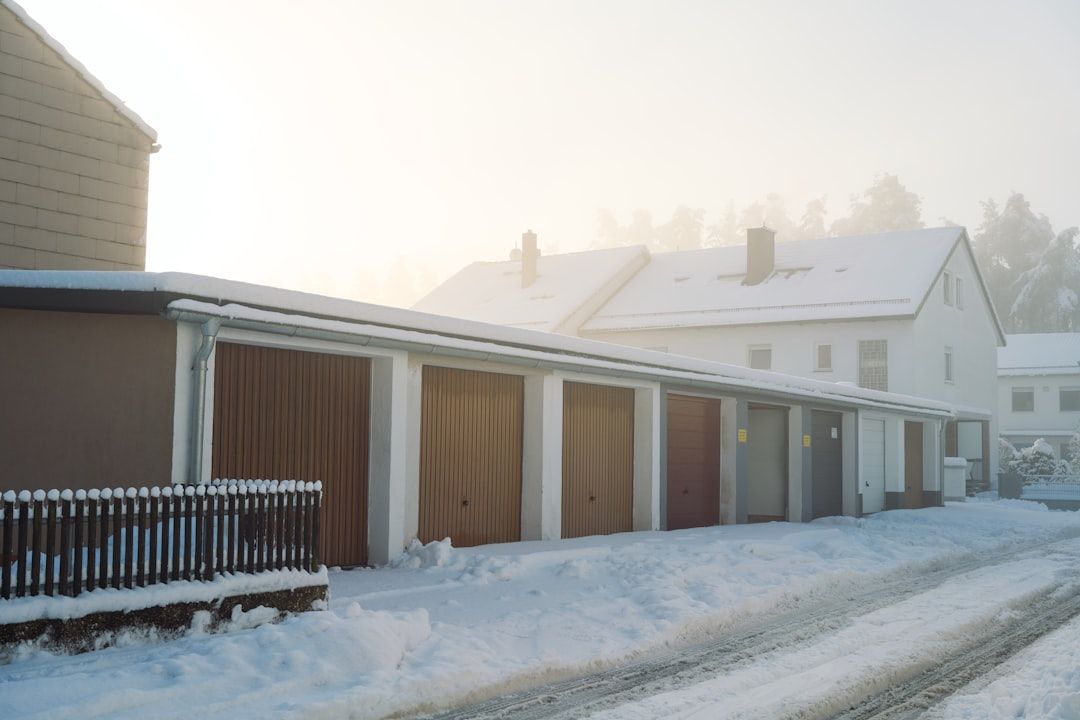
- Temperature Regulation: By closing those massive gaps, you can see a significant temperature gain. Research shows that while an unsealed garage might only be 10°F warmer than the outdoors, a sealed garage can maintain a 20-28°F difference. If it’s a freezing 30°F in Waynesboro, your garage could stay a much more comfortable 58°F.
- Moisture Protection: Rain and snow driven by wind can easily bypass an unsealed frame, leading to wood rot on your jambs or rust on your door hardware.
- Pest Control: Spiders, centipedes, and crickets view a gap in your garage door as a "Welcome" sign. Sealing the perimeter is the most effective way to keep them out.
- Noise Reduction: These seals act as a buffer, muffling the sound of the street and preventing the door from rattling against the frame during high winds.
For those using their garage as a workshop, gym, or laundry area, these improvements make the space usable year-round. If you need help with more than just seals, our Residential Services cover everything from full door replacements to spring repairs.
The Impact on Energy Bills
It is easy to underestimate the cost of a draft. If you have two standard garage doors without side and top seals, you are essentially dealing with 68 linear feet of gaps. This is a massive amount of surface area for heat exchange. In the winter, your home's heating system has to work significantly harder if you have an attached garage, as the cold air from the garage leaches through the shared wall and entry door.
In commercial settings, the stakes are even higher. Large warehouses and loading docks can lose thousands of dollars in energy costs through unsealed overhead doors. We provide specialized commercial overhead solutions designed to withstand heavy usage while maintaining a strict thermal barrier.
Choosing Materials for Installing Garage Door Weather Stripping Side and Top
Before you head to the hardware store in Harrisonburg or Staunton, you need to know which material suits your door best. Not all weather stripping is created equal, and choosing the wrong type can lead to a seal that cracks in the sun or fails to stop the wind.
The most common options include:
- PVC Stop Molding: This is the "gold standard" for most residential doors. It consists of a rigid PVC backer that mimics the look of wood trim, with a flexible vinyl flap attached. It is durable, paintable, and provides a very clean look.
- Dual-Vinyl Strips: Products like the M-D Building Products Dual-Vinyl feature two different types of vinyl—a rigid one for the mounting side and a soft, flexible one for the seal. This ensures the strip stays put while the flap moves easily with the door.
- Brush Seals: Often used on commercial doors or doors with irregular surfaces, these consist of thousands of tiny bristles that block air while allowing for more friction-free movement.
Material Comparison Table
| Material | Durability | Best For | Pros | Cons |
|---|---|---|---|---|
| Vinyl/PVC | 2–5 Years | Residential Doors | Affordable, easy to install, paintable | Can become brittle in extreme cold |
| Rubber (EPDM) | 5–10 Years | High-Traffic Doors | Stays flexible in extreme cold, excellent seal | More expensive, harder to find in colors |
| Brush Seals | 5–7 Years | Irregular frames/Commercial | Excellent for dust/pest control | Less effective against heavy wind/rain |
Essential Tools and Materials
One of the best things about installing garage door weather stripping side and top is that it doesn't require a specialized tool kit. You likely have most of these in your workshop already:
- Tape Measure: For precise frame dimensions.
- Utility Knife or Tin Snips: To cut the vinyl or PVC to length.
- Hammer and Trim Nails: Standard 1.5-inch galvanized trim nails work best to prevent rust.
- Brad Nailer (Optional): If you have one, an air compressor and brad nailer with U-shaped staples can make the job go twice as fast.
- Safety Glasses and Ear Protection: Always essential when hammering or using power tools.
- T-Square: To ensure your cuts are perfectly straight for tight corner joints.
Step-by-Step Guide to Weatherproofing Your Frame
The order of operations is critical when sealing a garage door. If you install the sides first, you may end up with gaps at the top corners where water can seep in. Always follow the "top-down" rule.

Measuring for Installing Garage Door Weather Stripping Side and Top
Accuracy is the difference between a professional-looking seal and a DIY disaster.
- Measure the Header (Top): Measure the width of the garage door opening at the very top. You want the top piece to run the full width of the opening.
- Measure the Jambs (Sides): Measure from the garage floor up to the bottom of your newly installed top piece.
- Check for Gaps: Close the door and push on it from the inside. Note any areas where the door frame is warped. You may need to adjust the tension of your weather stripping in these spots to ensure a "light interference" seal.
If you find that your door frame is significantly out of alignment or the door itself is sagging, a simple seal might not be enough. You might want to look into Garage Door Installation in Waynesboro VA to see if a structural refresh is necessary.
Step-by-Step Process for Installing Garage Door Weather Stripping Side and Top
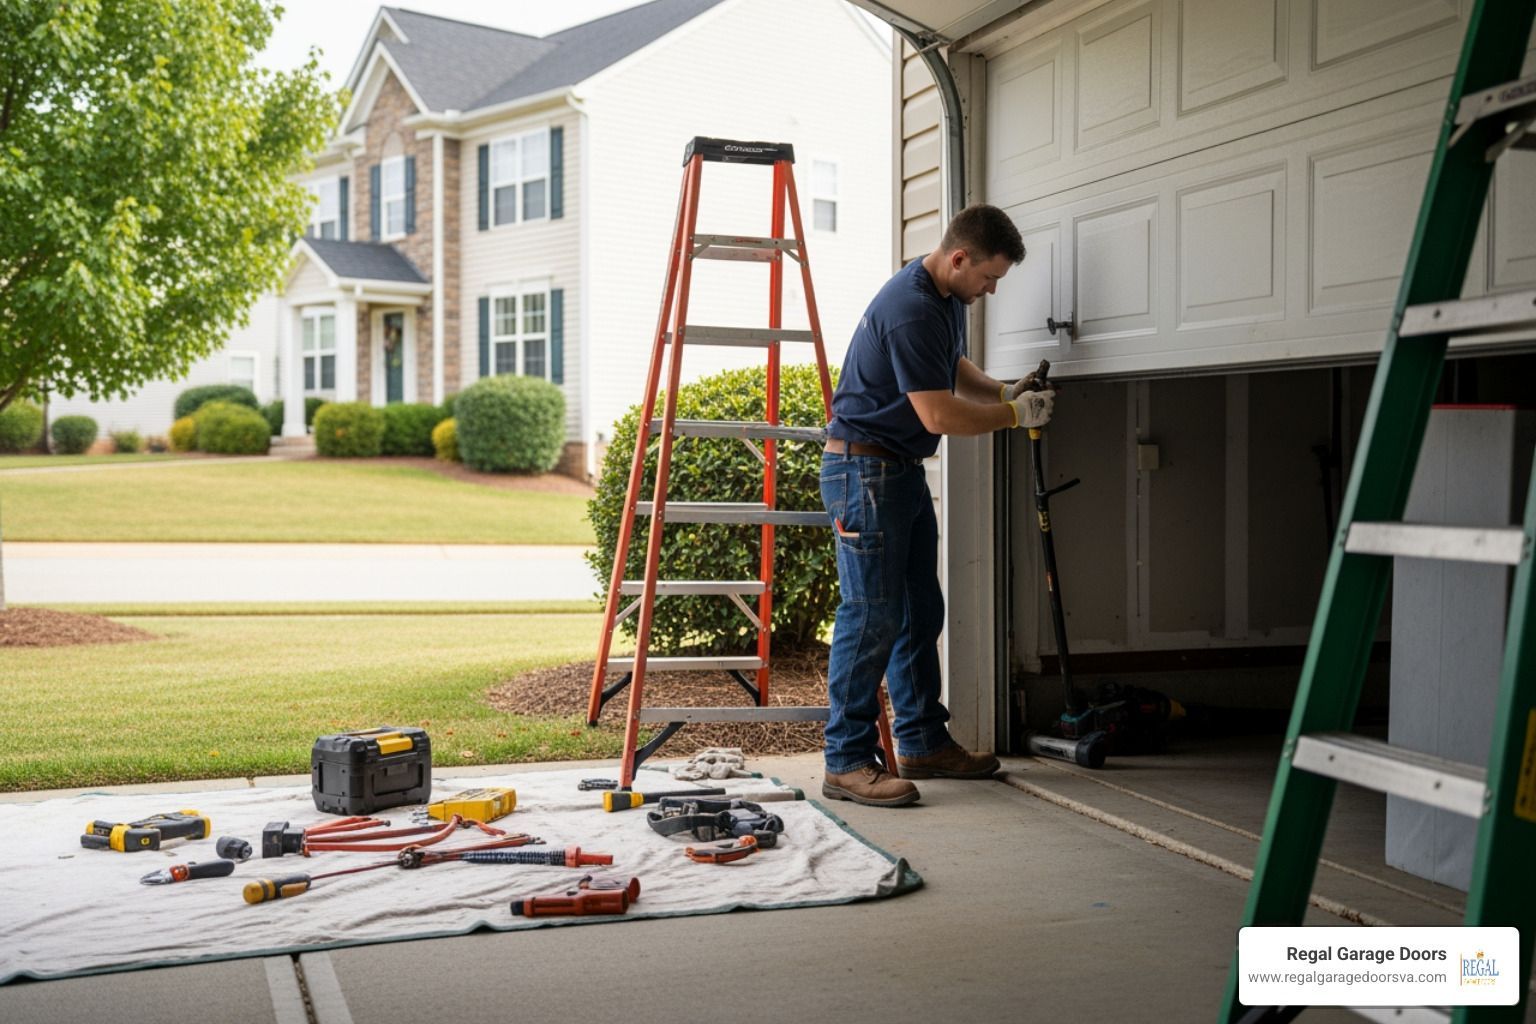
- Prepare the Surface: Use a pry bar to remove old, cracked weather stripping. Clean the door jambs with mild detergent and water to remove dirt and spider webs. This ensures the new molding sits flush against the wood or aluminum.
- Install the Top Seal First: Cut your top piece to the measured width. Position it against the header so the flexible flap points toward the door. Secure it with a few temporary nails to check the fit.
- The "J-Shape" Contact: When positioning the strip, you want the flexible flap to form a slight "J" or "U" shape against the door. It should not be crushed flat, nor should it barely touch. We call this "light interference."
- Install Side Seals: Cut your side pieces. The top of the side piece should meet the top piece. Some pros prefer to "cope" or angle the top of the side strip so it overlaps the flexible flap of the header piece, creating a seamless corner.
- Temporary Nailing and Testing: Use only 2 or 3 nails per side at first. Open and close the door several times. Check if the door sections rub against the rigid part of the PVC as they move through the curve of the track. If you hear a "thumping" sound or the door stops, the seal is too tight.
- Final Securing: Once the door operates smoothly, drive nails every 6 to 12 inches along the length of the molding.
- Caulk the Back Edge: For a truly professional finish, run a thin bead of white exterior caulk along the seam where the rigid PVC meets the door frame. This prevents air from whistling behind the weather stripping.
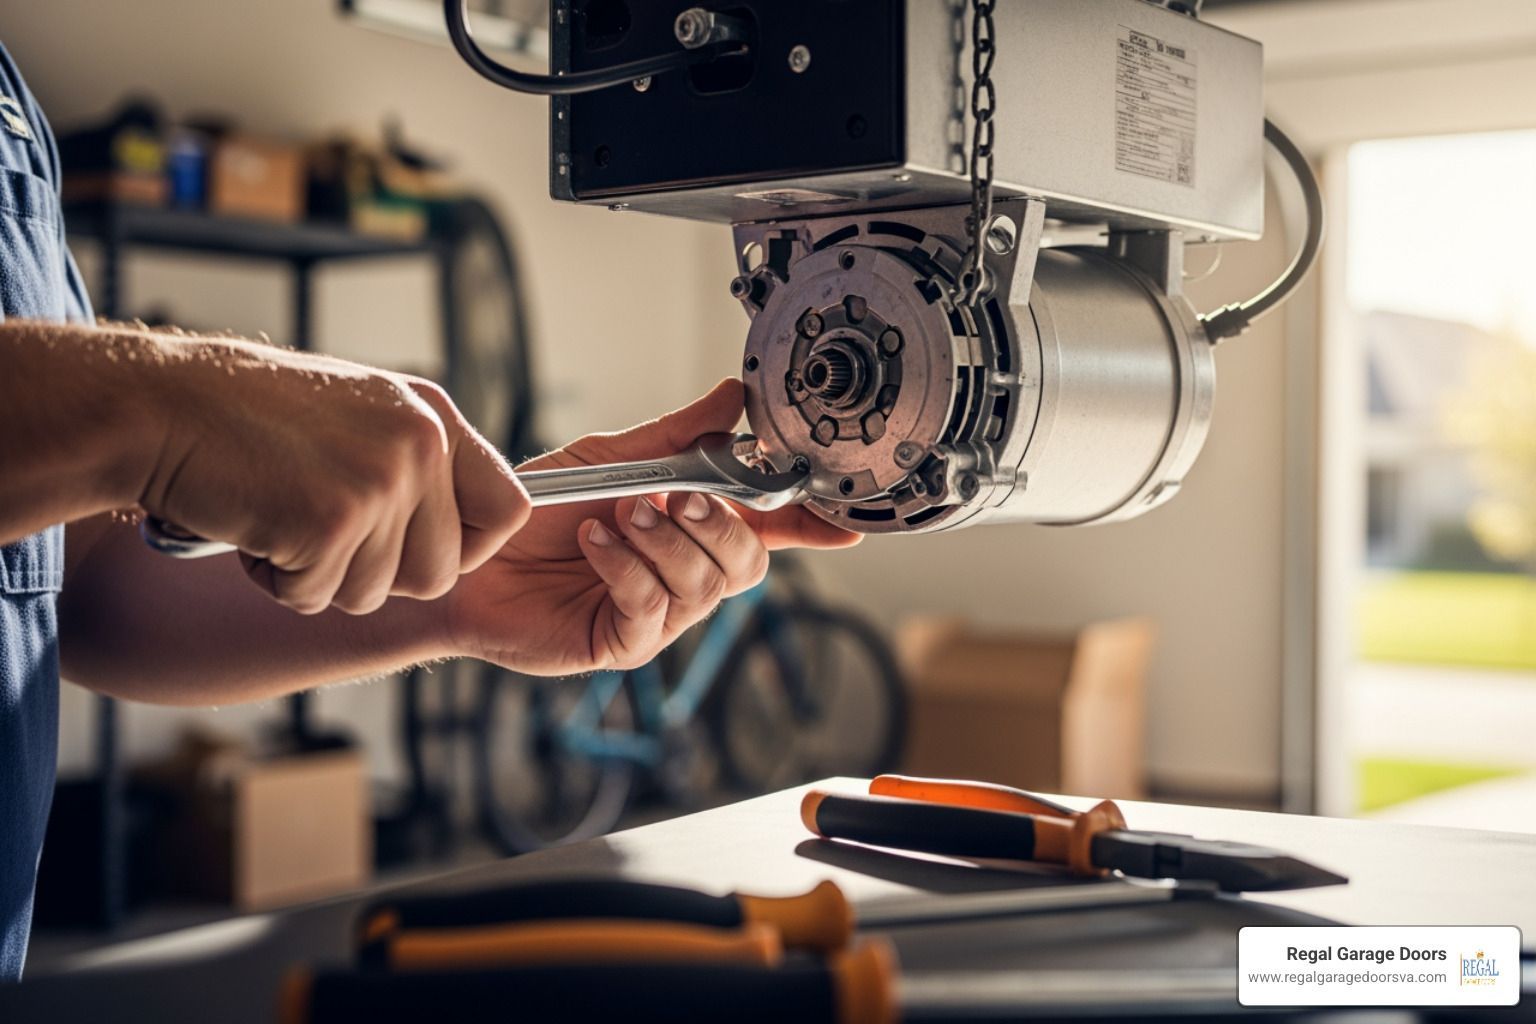
If your door starts acting up after installation—perhaps stopping halfway or reversing—it might be a torque sensor issue. Learn how garage door opener repairs are handled in Staunton VA to troubleshoot opener sensitivity.
Pro Tips for a Perfect Seal and Common Mistakes
The most common mistake we see in the Shenandoah Valley is homeowners installing the stripping too tightly. They think "tighter is better," but in the garage door world, that's a recipe for a burnt-out opener motor.
Avoiding Operational Issues
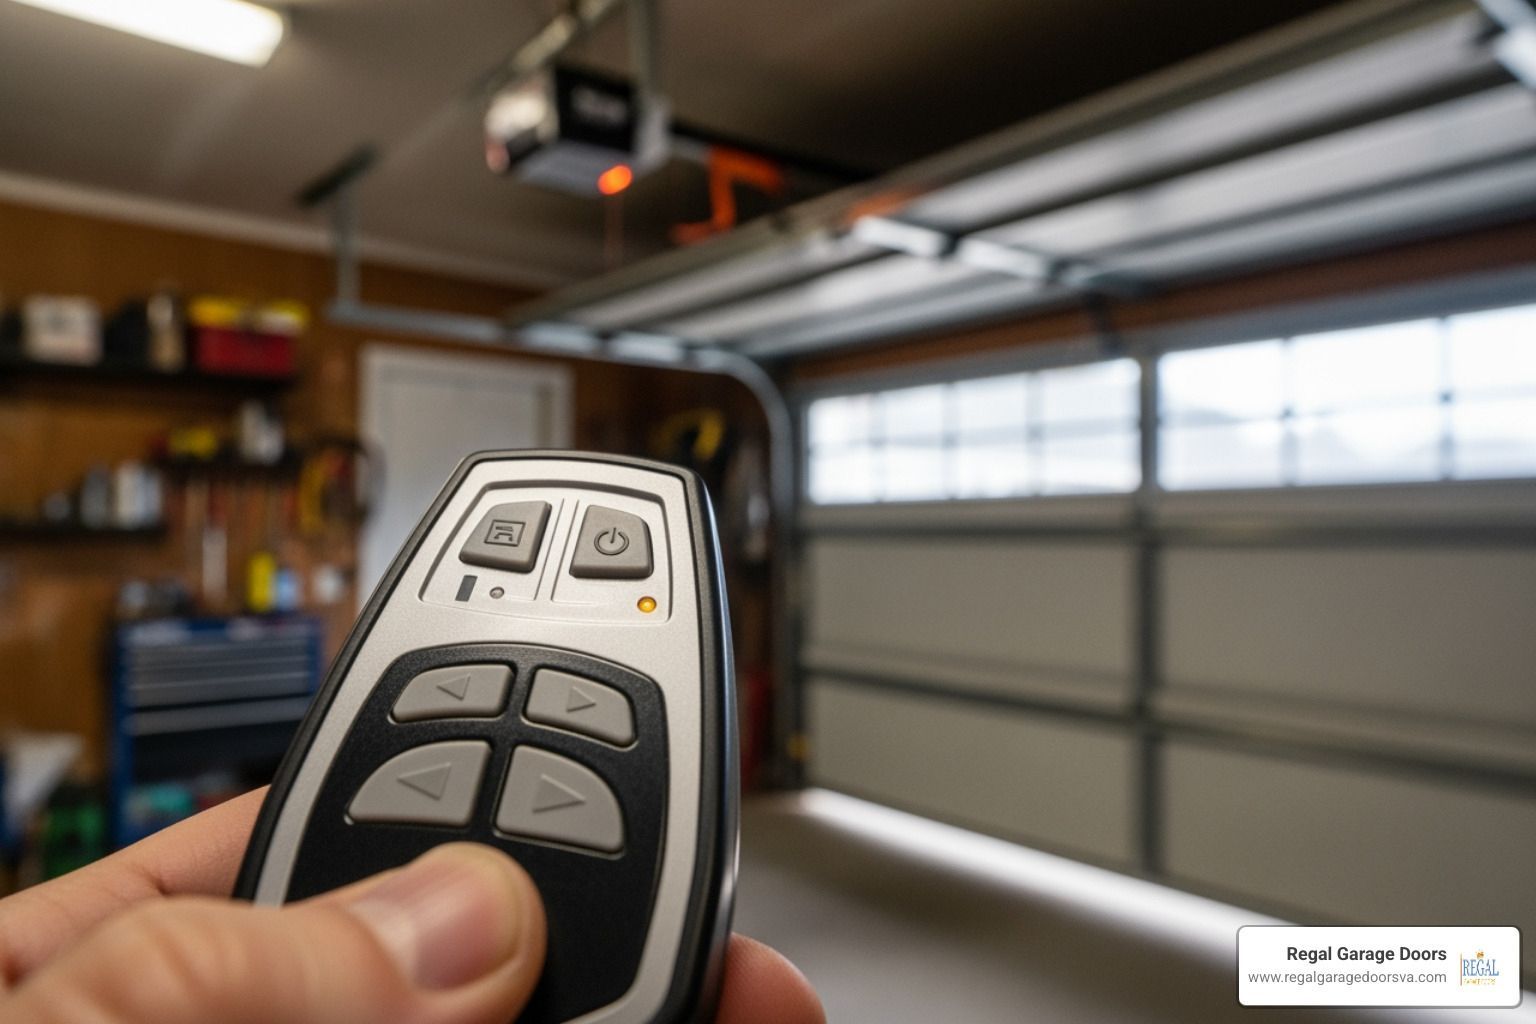
- The Torque Sensor Trap: Modern garage door openers have safety sensors that detect resistance. If the weather stripping is pressing too hard against the door, the opener thinks it has hit an obstruction and will reverse the door.
- Binding at the Top: The top section of the garage door moves in a different arc than the bottom sections. If the top seal is too close, the top panel will rub against the rigid PVC every time it opens, eventually tearing the seal or damaging the door's finish.
- Incorrect Flap Orientation: The flexible flap should always point toward the door. If installed backward, the door will catch on the edge of the flap, causing it to fold over or rip.
- Temperature Considerations: Try to install your seals on a mild day (between 50°F and 70°F). Vinyl is more flexible when warm, making it easier to achieve that perfect "J-shape" without the material cracking.
If you notice your door is struggling even after adjusting the seals, it might be a sign of a deeper mechanical issue. Check out these 6 obvious signs your garage door needs repair in Staunton VA.
Maintenance and When to Call a Professional
Weather stripping is not a "set it and forget it" product. Because it is exposed to the harsh Virginia sun and freezing winters, it will eventually lose its elasticity.
- Inspection Frequency: We recommend a visual inspection every 6 months. Look for cracks, brittleness, or areas where the flap has stayed compressed and no longer touches the door.
- Cleaning: Use a mild detergent and warm water. Avoid harsh chemicals or petroleum-based cleaners, which can cause vinyl and rubber to degrade prematurely.
- Lubrication: To prevent the door from "sticking" to the vinyl in the summer, apply a light coating of silicone-based lubricant to the flap once a year. Never use WD-40 or grease, as these attract dirt and destroy the material.
- Lifespan: Expect to replace your side and top seals every 2 to 5 years. If you use high-quality EPDM rubber, you might get up to 10 years.
Signs You Need a Professional
While installing garage door weather stripping side and top is a great DIY project, some situations require an expert touch:
- Warped Frames: If your wooden door jambs are rotted or severely warped, the weather stripping won't be able to bridge the gap. We can help with frame repairs or aluminum capping.
- Door Alignment Issues: If the door is sitting crooked in the opening, no amount of weather stripping will fix the draft. The tracks and springs need adjustment first.
- Safety Concerns: If you have to adjust your opener's "Force" settings to get the door to close over the new seals, stop immediately. Increasing the force can make the door dangerous.
If you're wondering about the cost of a professional refresh, you can find details on how much garage door installation costs in Staunton VA to help you budget.
Frequently Asked Questions about Garage Door Seals
How long does side and top weather stripping last?
Generally, you can expect 2 to 5 years of peak performance. In the Shenandoah Valley, the UV rays in the summer and the freeze-thaw cycles in the winter are the primary enemies. If the seal feels stiff, looks cracked, or you can see light coming through the sides when the door is closed, it’s time for a replacement.
Why is my garage door sticking to the new weather stripping?
This usually happens due to a "suction" effect or heat softening the vinyl. It’s most common in the first few weeks after installation. A quick wipe-down with a silicone-based lubricant (specifically labeled for rubber/vinyl) will solve the problem instantly.
Can I replace just the side stripping without the top?
You can , but we don't recommend it. Weather stripping ages at a similar rate. If the sides are failing, the top is likely brittle too. Replacing the entire perimeter ensures a uniform seal and allows you to properly overlap the corners for maximum draft prevention.
Conclusion
Installing garage door weather stripping side and top is a small investment that pays massive dividends in comfort and energy savings. By following the "top-first" installation rule and aiming for that "light interference" fit, you can transform your garage from a drafty storage unit into a comfortable, protected part of your home.
At Regal Garage Doors, we pride ourselves on our local expertise and commitment to the communities of Harrisonburg, Waynesboro, and Staunton. Whether you need a simple seal replacement or a complete garage door installation in Waynesboro VA, our team is here to provide code-compliant, transparent, and high-quality service.
Don't let those 68 linear feet of gaps drive up your heating bill this winter. Grab a tape measure, some PVC stop molding, and give your garage the seal it deserves!