The Secret to Mounting Retractable Awnings on Vinyl Siding
Can You Install a Retractable Awning on Vinyl Siding?
Yes — you can install retractable awning on vinyl siding, but there's one rule you must follow: never anchor into the siding itself. Vinyl is lightweight and decorative. It cannot hold the weight of an awning on its own.
Here's the quick version of how it's done:
- Locate the wall studs behind the vinyl siding using a deep-scan stud finder
- Mark your bracket positions at a height of 7–8 feet from the ground
- Drill pilot holes through the vinyl and into the studs
- Secure mounting brackets with 3/8" galvanized lag bolts driven into solid framing
- Seal every penetration with silicone caulk to block moisture
- Lift and mount the awning with at least two people
- Adjust the pitch so rainwater drains away from the house
That's the core process. But getting each step right — especially on vinyl — takes some care.
Vinyl siding expands and contracts with temperature changes. It cracks if you drill too hard or in the wrong spot. And if you skip the caulk, water finds its way in and causes damage you won't see until it's expensive.
Awnings also aren't light. They weigh 8–12 pounds per linear foot. That load has to go into the structural framing of your home — not into a thin plastic panel.
The good news? More than half of retractable awning owners install their own, according to manufacturer data. With the right steps and tools, it's a very manageable DIY project.

Why Structural Support is Critical for Vinyl Siding Installs
When we talk about the "secret" to a successful installation, we are really talking about physics. Vinyl siding is a "floating" exterior. It is designed to hang loosely on your house so it can expand and contract as the Virginia sun beats down on it. Because it isn't rigid or load-bearing, it offers zero structural support.

A standard retractable awning is a heavy piece of equipment. Depending on the model and width, these units typically weigh between 8 and 12 pounds per linear foot. For a 20-foot awning, you are looking at over 200 pounds hanging off the side of your house. If you attempt to install retractable awning on vinyl siding by simply screwing into the plastic or the thin plywood sheathing behind it, the first gust of wind will likely rip the brackets right out, causing massive damage to your home’s exterior.
To ensure your awning stays put, every mounting bracket must be anchored directly into the wall studs. These vertical 2x4 or 2x6 wooden members are the skeleton of your home. By driving long lag bolts through the siding and deep into these studs, you transfer the weight of the awning to the home's frame.
Furthermore, we have to consider the moisture barrier. Behind your vinyl is a layer of house wrap designed to keep your wall cavity dry. When we drill through this, we create a potential path for water. Proper structural mounting isn't just about weight; it's about maintaining the integrity of your home's envelope. According to experts at Can Retractable Awnings Be Installed On Vinyl Siding | All You Need To Know , using spacers or mounting blocks can help prevent the vinyl from crushing or "dimpling" when you tighten those heavy-duty bolts.
Essential Tools to Install Retractable Awning on Vinyl Siding
Before you climb the ladder, you need to gather the right gear. Attempting this with just a screwdriver and a prayer is a recipe for a crooked awning. Here is what we recommend for a professional-grade DIY install:
- Deep-Scan Stud Finder: Standard stud finders often struggle to "see" through the air gap behind vinyl siding. A deep-scan model is essential for finding the center of those 16-inch or 24-inch spaced studs.
- 3/8" Galvanized Lag Bolts: You’ll want bolts at least 3.5 to 4 inches long to ensure they penetrate through the siding, sheathing, and deep into the wood framing.
- High-Quality Silicone Caulk: This is your best friend. You'll use it to seal every hole you drill.
- 2x8 Header Board (Optional but Recommended): If your wall studs don't perfectly align with where your awning brackets need to be, mounting a pressure-treated 2x8 board to the studs first gives you a solid "mounting zone" for the brackets.
- Spirit Level and Chalk Line: To ensure your awning doesn't look like it’s sliding off the house.
- Power Drill and 1/4" High-Speed Drill Bits: For creating pilot holes that prevent the wood studs from splitting.
Manual vs. Motorized Installation Requirements
While the structural mounting is similar, motorized units have a few extra needs.
| Requirement | Manual Awning | Motorized Awning |
|---|---|---|
| Mounting Height | 7-8 feet minimum | 8 feet minimum (to clear motor housing) |
| Electrical | None | GFI Outdoor Outlet / Professional Wiring |
| Weight | 7-10 lbs per foot | 10-12 lbs per foot (due to motor) |
| Tools | Basic hand tools | Multimeter / Wire strippers (if hardwired) |
| Maintenance | Lubricate gears | Inspect electrical connections |
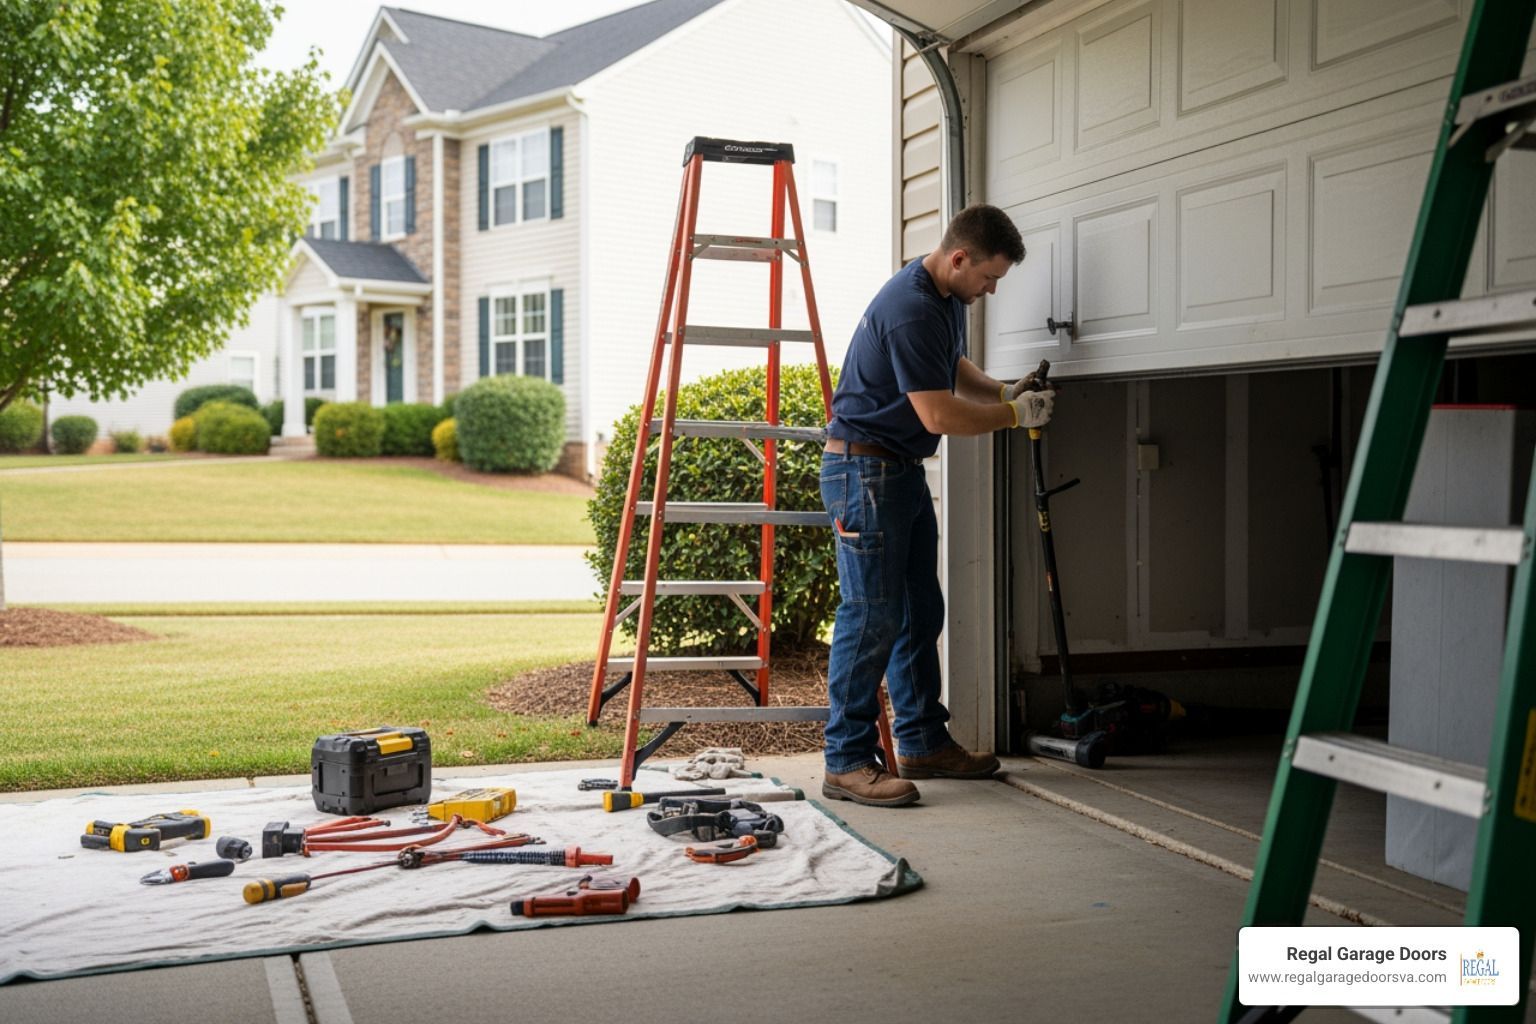
Step-by-Step: How to Secure Your Awning Properly
Locating Studs and Preparing the Surface
The first step is the most critical: finding the wood. Most homes in the Shenandoah Valley are built with studs spaced 16 inches apart on center. Start by using your deep-scan stud finder. Once you think you've found a stud, we suggest a "pro tip": drill a tiny 1/8" locator hole. If the drill bit meets resistance and comes out with wood shavings, you’ve hit gold. If it spins freely after passing through the sheathing, you've missed.
Check the condition of your siding as well. If the vinyl is cracked, brittle, or showing signs of mold, it’s better to repair those sections before you mount a permanent fixture over them. As noted in Installing a Retractable Awning , you must also calculate your mounting height carefully. You want the front bar of the awning to be high enough to walk under (usually 6.5 to 7 feet), which means the wall brackets usually need to be mounted at least 7.5 to 8 feet high to account for the downward "pitch" of the fabric.
Mounting Brackets and Securing the Awning
Once your studs are marked, it's time to get the brackets up. If you are mounting directly onto the vinyl, you may want to use a mounting block or plastic spacers. This prevents the lag bolts from pulling the vinyl tight against the house and cracking it.
- Mark and Level: Use a chalk line to snap a perfectly horizontal line across your marked studs.
- Drill Pilot Holes: Drill 1/4" pilot holes through the vinyl and into the studs. This is vital—skipping this can split the stud, ruining your structural support.
- Apply Caulk: Squirt a generous amount of silicone caulk into the hole before you put the bolt in. This creates a waterproof "gasket" inside the wall.
- Drive the Bolts: Using a socket wrench, drive your 3/8" lag bolts through the bracket and into the stud. Tighten until snug, but don't over-tighten to the point where the vinyl siding buckles.
- The Big Lift: This is a 2-3 person job. Retractable awnings are awkward and heavy. Lift the awning frame up to the brackets, slide the square torsion bar into the bracket "cradles," and secure them with the provided retaining bolts.
Final Adjustments to Your Install Retractable Awning on Vinyl Siding
With the awning safely on the wall, don't walk away just yet! You need to test the operation. Crank the awning out (or use the remote if it's motorized) and check the "pitch." Most manufacturers recommend a minimum 15-degree slope so that rainwater runs off rather than pooling in the center. If water pools, the weight can actually bend the arms or pull the brackets off the wall.
Finally, do one last "caulk walk." Ensure the top edge of the brackets or any header boards are sealed against the siding. If you have a motorized model, ensure the power cord has a "drip loop"—a small U-shaped dip in the wire before it enters the outlet—to prevent rain from running down the wire and into the electrical socket.
Maximizing Longevity and Home Energy Efficiency
Installing a retractable awning isn't just about style; it's a smart financial move for homeowners in Harrisonburg and Staunton. By shading your windows and sliding glass doors, you can reduce the heat gain in your home by up to 77% during the hottest parts of the day. This significantly lowers the load on your AC unit, saving you money on monthly utility bills.
To keep your awning working for years to come:
- Retract during wind: If the wind is strong enough to make the awning "bounce," it's time to roll it in.
- Fabric Care: Brush off loose dirt and leaves monthly. Every season, give the fabric a light wash with mild soap and water to prevent mold.
- Bird Netting: Sometimes birds love to nest in the arms of a retracted awning. Small strips of bird netting or "spikes" near the motor housing can prevent unwanted guests.
- Winter Care: While the frame can stay up year-round, ensure it is fully retracted during snowstorms. The weight of heavy Virginia snow can easily exceed the load capacity of the brackets.
For more tips on keeping your home exterior in top shape, check out our residential services page.
Frequently Asked Questions about Awning Installation
Do I need a permit to install retractable awning on vinyl siding?
In most parts of the Shenandoah Valley, including Waynesboro and Augusta County, a standard retractable awning does not require a building permit because it is considered a "non-permanent" addition. However, if you are hard-wiring a motorized awning into your home's electrical panel, you may need an electrical permit. Always check with your local building department in Harrisonburg or Staunton just to be safe.
Can I install an awning without removing the vinyl siding?
Yes! Most homeowners prefer this. By using long lag bolts and spacers, you can mount the brackets right over the siding. The key is ensuring the bolts go through the siding and into the wood studs. Some pros prefer to cut a small section of siding away and install a "mounting block" for a cleaner look, but it is not strictly necessary for a secure hold.
What should I do if my wall studs do not line up with the brackets?
This is a common issue. If your awning brackets need to be 12 feet apart but your studs are on a 16-inch rhythm that doesn't match, you should install a 2x8 pressure-treated header board. Secure the board to the studs first using lag bolts, then mount your awning brackets exactly where you need them on that board. This "bridge" provides a rock-solid foundation regardless of stud placement.
Conclusion
When you install retractable awning on vinyl siding, you are doing more than just adding shade—you’re creating a more comfortable, energy-efficient outdoor living space for your family. While the process requires precision and a deep respect for your home's structural framing, it is a project that pays dividends every time you step out onto your patio on a hot July afternoon.
At Regal Garage Doors, we pride ourselves on being the local experts for the Shenandoah Valley. From Harrisonburg to Waynesboro and down to Staunton, we provide code-compliant installations, transparent quotes, and the kind of local expertise you can only get from neighbors. Whether you need help with a complex awning mount, a garage door repair, or a new commercial overhead solution, we are here to help.
Ready to upgrade your outdoor living? Contact us today for more information on our residential services and let’s get your home ready for the season!